p5.js 2.0 comes with some new tools for creative coding with typography. Let’s use them to create a virtual, interactive postcard!
A common theme in old postcards is to have large block letters with local imagery showing through. Here’s an example of such a postcard from 1937:
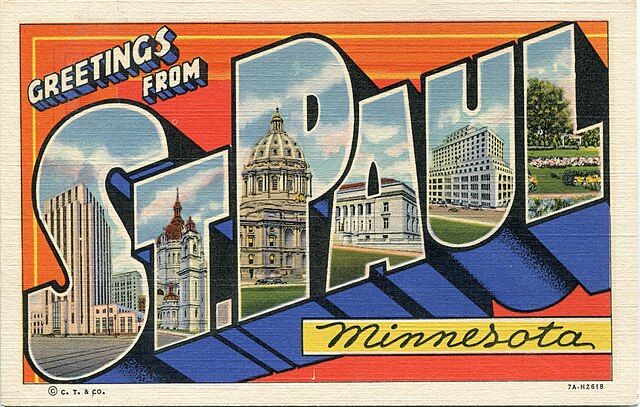
Postcard with "Greetings from St. Paul, Minnesota" in big letters with local buildings inside them.
We’ll try to make something like this using the tools in p5.js 2.0!
The first step is to open an editor like the p5.js Web Editor and change the version to 2.0. In the Web Editor, you can do that by clicking on the version in the header, and then picking the latest 2.0 version from the version dropdown.
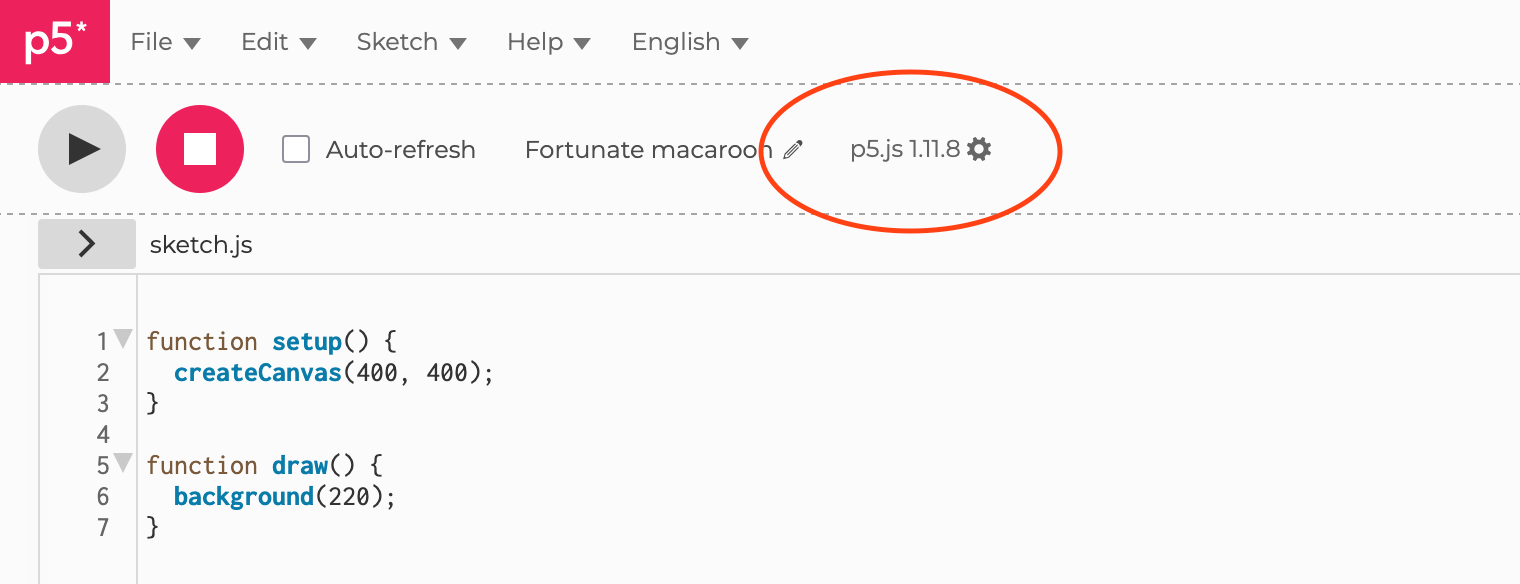
A screenshot of a new p5.js Web Editor project, with the version picker circled.
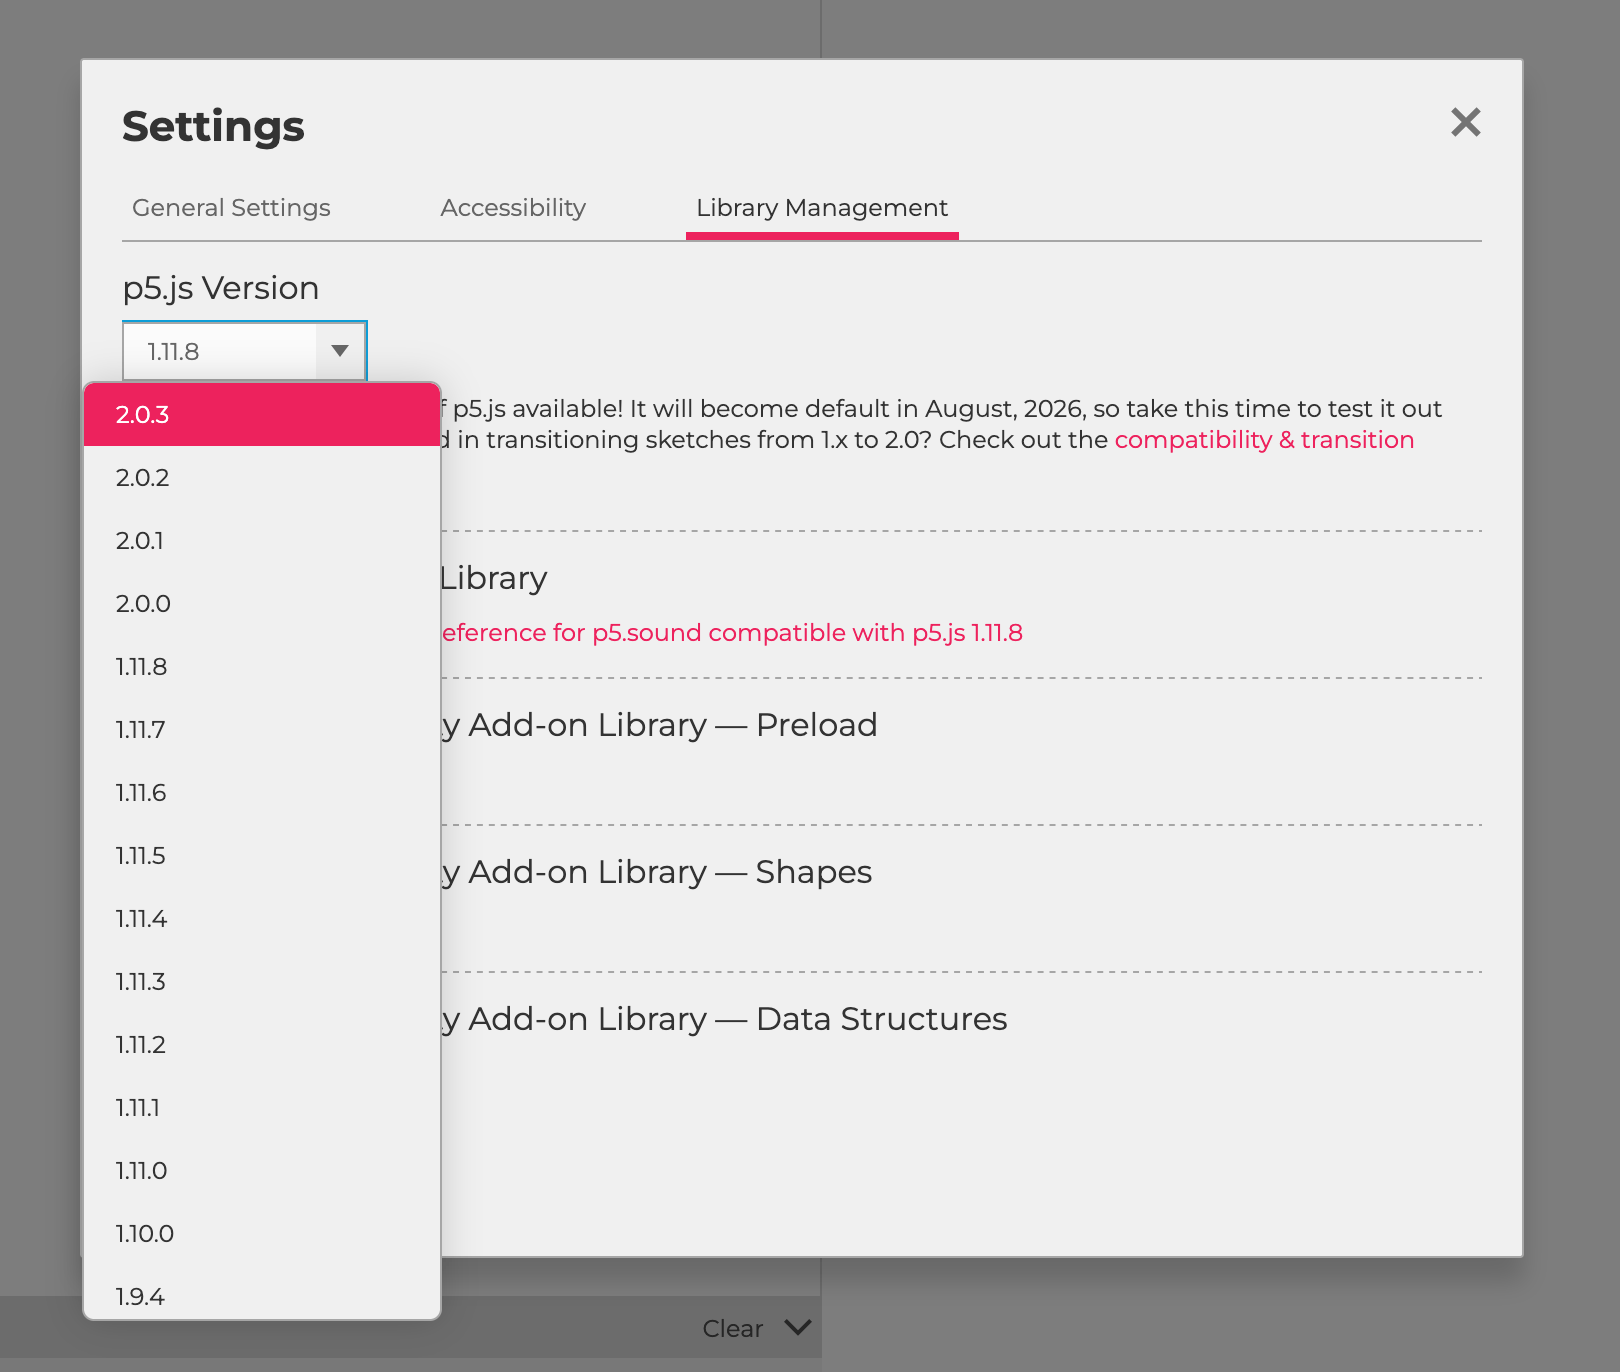
Screenshot of the p5.js Web Editor version picker showing a list of versions. The latest is selected
WebGL mode
We’ll use some of p5.js 2.0’s 3D features to do our block letters, so we’ll create a WebGL canvas. We can also change the size to 600 by 400, a landscape aspect ratio for a postcard.
When debugging a 3D sketch, adding orbitControl() lets us click and drag to rotate the things we’ve drawn. If you run the sketch now, you’ll see a box that you can spin around by clicking and dragging.
2D Text
To load something in version 2.0, we turn our setup function into an async function. Then we can await something that needs to load, like loadFont, and assign it to a variable:
    ///////////////////////////////////////////////
// Add `async` to setup
///////////////////////////////////////////////
async function setup() {
  createCanvas(600, 400, WEBGL);

  ///////////////////////////////////////////
  // Load fonts with `await`
  ///////////////////////////////////////////
  cursiveFont = await loadFont(
    "https://fonts.googleapis.com/css2?family=Meow+Script&display=swap");
}
Let’s load a font in our sketch! You can always upload your own font file and then load that, but we can also load a font directly from Google Fonts, a large font resource. In order to load fonts in the format Google Fonts uses, we need to add the p5.woff2 addon by adding a script tag to our index.html:
    <!DOCTYPE html>
<html lang="en">
  <head>
    <script src="https://cdn.jsdelivr.net/npm/p5@2.0.3/lib/p5.js"></script>

    <!-- Add the p5.woff2 library with the line below: -->
    <script src="https://cdn.jsdelivr.net/npm/p5.woff2@0.0.3/lib/p5.woff2.js"></script>

    <link rel="stylesheet" type="text/css" href="style.css">
    <meta charset="utf-8">
  </head>
  <body>
    <main>
    </main>
    <script src="sketch.js"></script>
  </body>
</html>
Now, let’s go to Google Fonts, and browse for one that you like. I’m going to use a cursive font for the smaller text on the postcard, so I’ve used Meow Script. If you find a font you like, click Get Font, and then click Get Embed Code, you’ll see something like this:
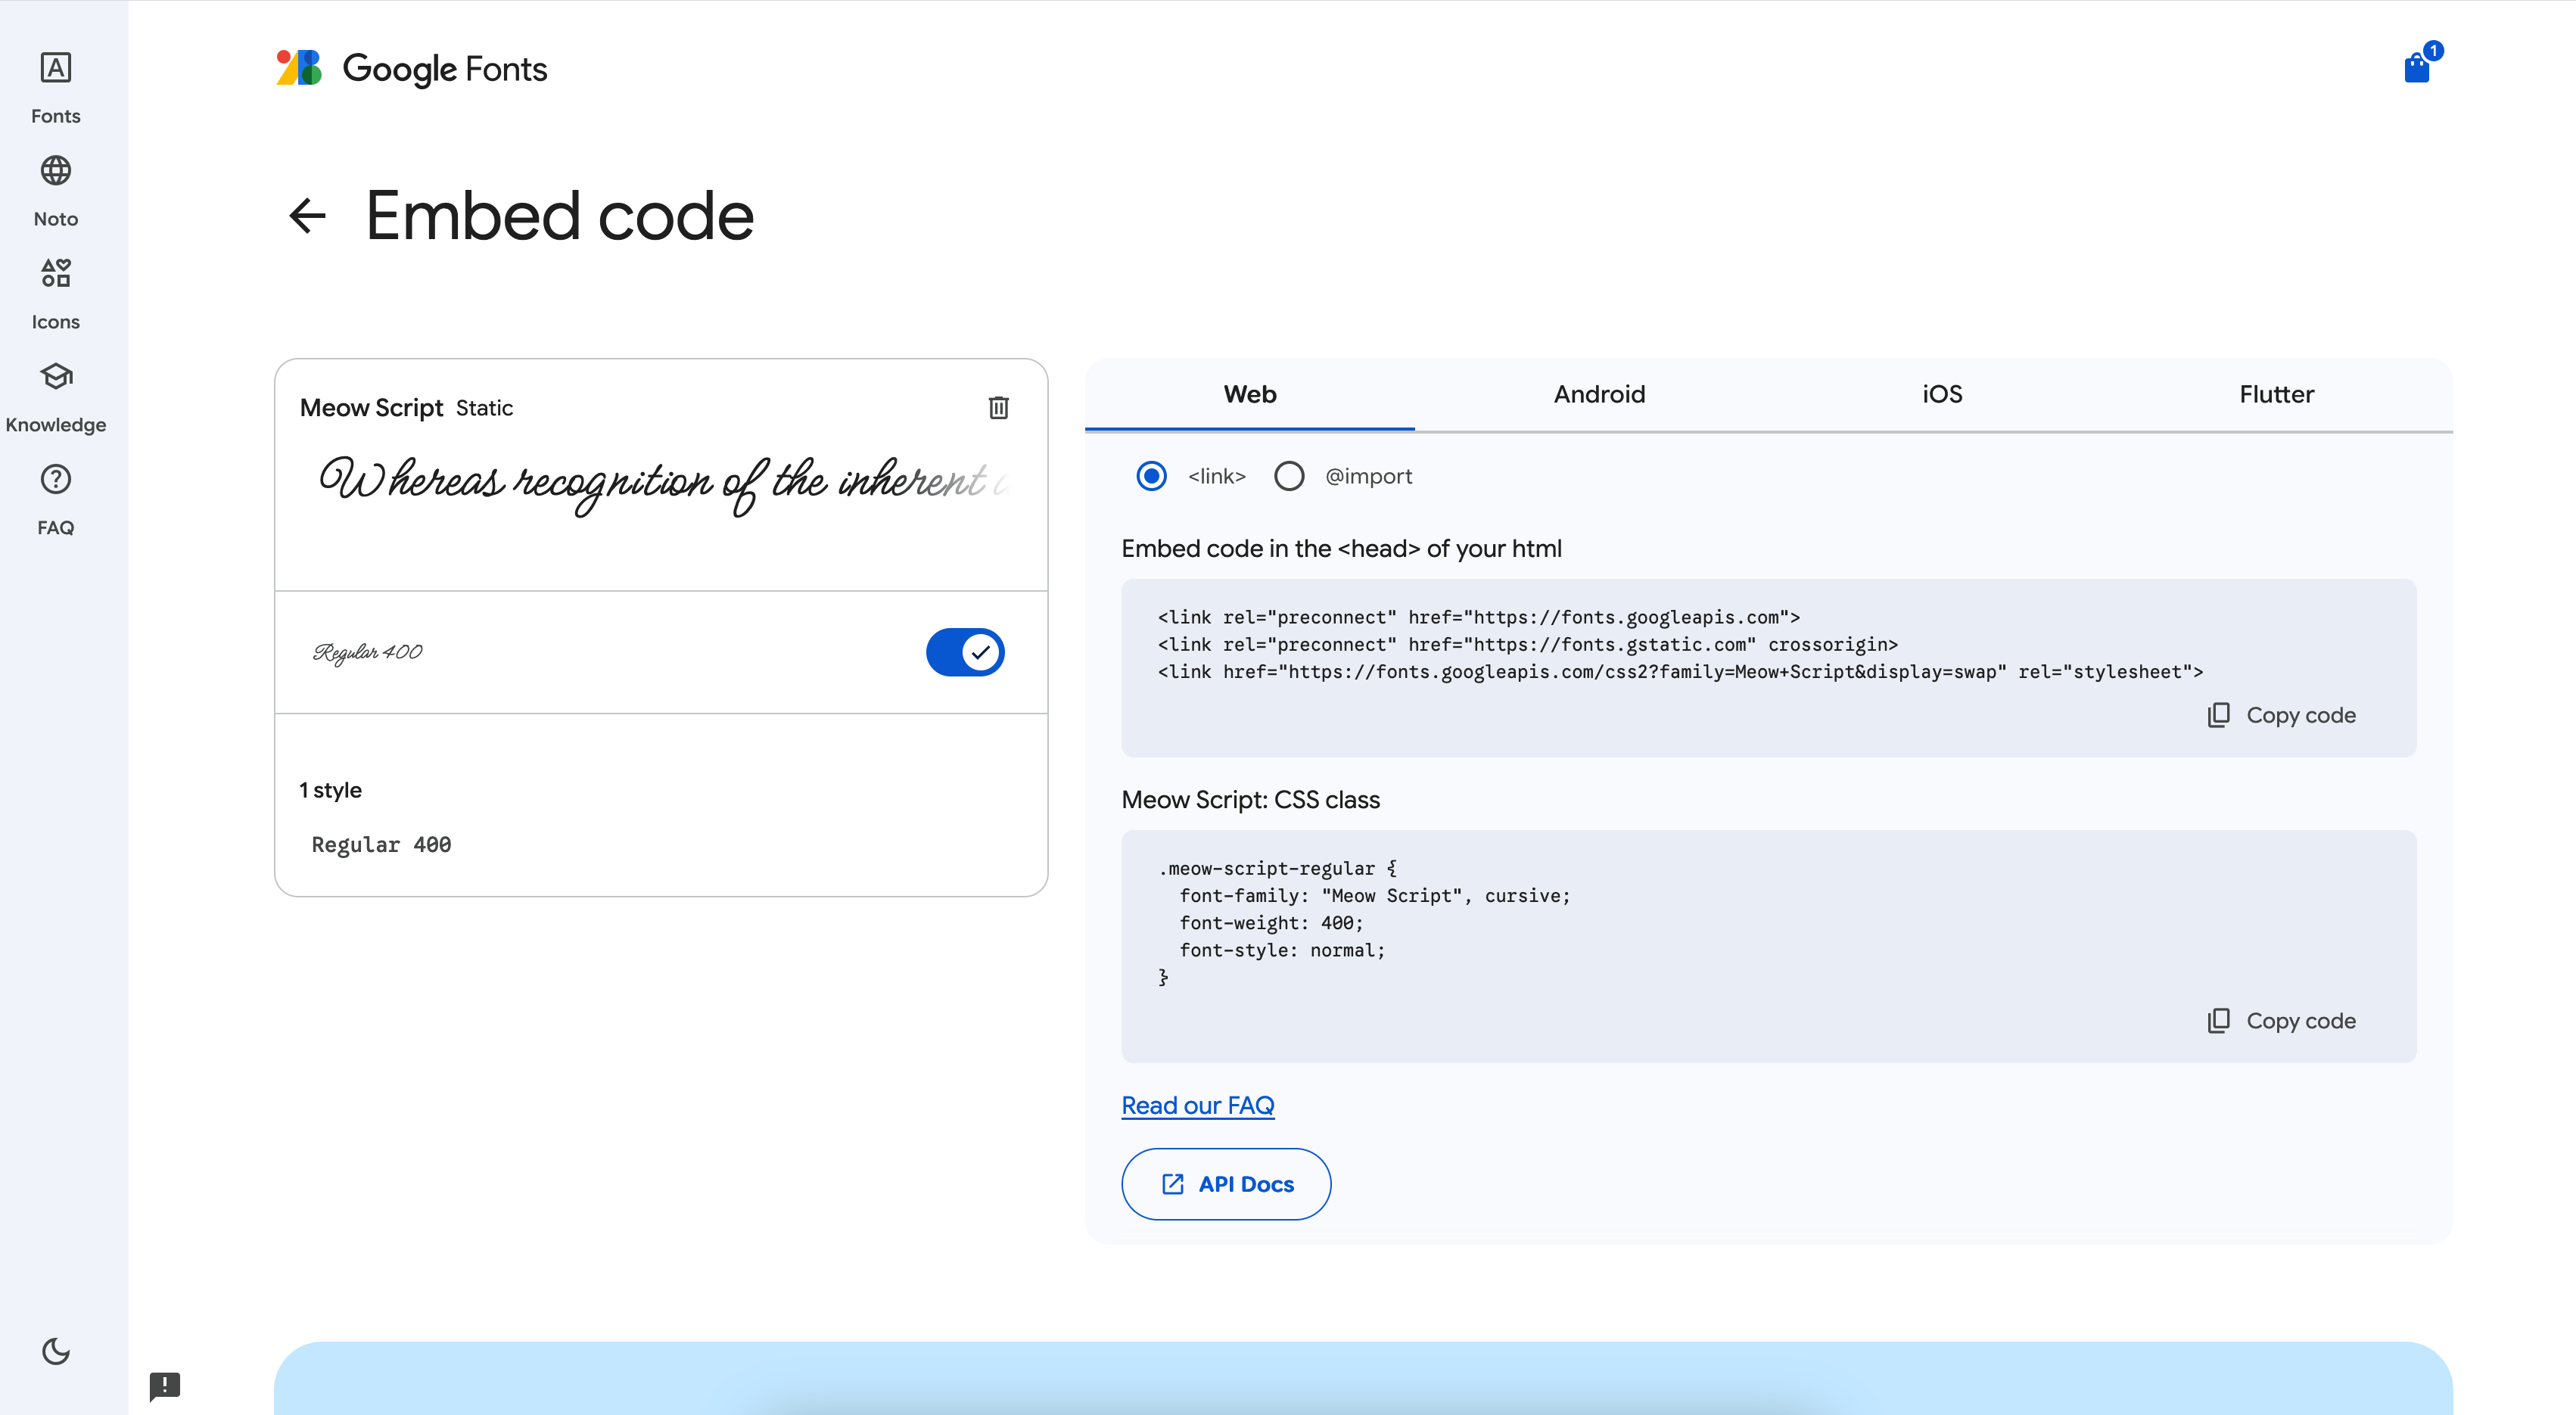
A screenshot of Google Fonts when grabbing the embed code for a font
In the first code block, we can grab the URL from that last <link> tag and use that in loadFont.
Once we’ve loaded a font, we can draw text using it! textFont(yourFont) is used to set the font, and text("something", x, y) is used to draw text at a given position. You can choose how the text is aligned relative to that position with textAlign. Here, I’m using that position to define the top left of the text.
When we’re drawing the text, we might want to position it and color it without affecting the rest of our code. When you sandwich a block of code between push() and pop(), p5 will contain any settings you change within just that block, leaving the rest unaffected.
Try this!
Try taking out the push and pop. You’ll see that the fill(0) starts to affect the box too.
3D text
In p5.js 2.0, we can make 3D letters out of a font! We’ll create three new variables at the top: blockFont to store a font for the main text, blockTextSize to control the font size, and greeting to control the words in the block text. This will let us change it easily later.
    let blockFont;
let blockText;
let blockTextSize = 130;
let greeting = 'P5.JS-2.0';
The bold version of Tilt Warp from Google Fonts will work nicely for some block text, so we’ll load that the same way we loaded the cursive font, storing it into blockFont.
blockFont = await loadFont('https://fonts.googleapis.com/css2?family=Tilt+Warp&display=swap');
Then, we’ll use textToModel to extrude the text into a 3D model. It takes in some text, x and y coordinates, and then an extra settings object controlling the smoothness of the text and how thick the extruded model should be.
We’ll also set make sure the text is center aligned with textAlign(CENTER) and sized correctly with textSize(textBlockSize) before we create the model.
Finally, we’ll draw the model instead of a box with model(blockText).
Try this!
Try using different extrude distances to change the thickness, and higher sampleFactor values to make smoother shapes (lower values will be coarser, and higher values will be smoother.)
Drawing a background image
Let’s start adding images and color to make this look like a real postcard! I grabbed an image URL from Wikimedia Commons, a great source of Creative Commons assets that you can use in your projects.
Like fonts, we need to create a variable at the top to store your image, and then assign to it inside setup. Since it’s an image, we’ll use await loadImage(...) rather than loadFont like before.
We’ll draw it to the canvas in draw(). imageMode(CENTER) lets us position the image via the coordinate of its center rather than its top left. We then can draw an image using image(img, x, y). To make it fill the canvas, we can use image(x, y, width, height), but it will stretch and distort the image to do so. By specifying the position and size on the original image after that and adding COVER at the end, we can fill the destination area without distortion. (CONTAIN would fit the image snugly in the destination area without cutting off any of the original image.)
Layering
To make the text more readable on the background, let’s darken the background image.
In 2D mode, we use something called the painter’s algorithm to draw with layers: anything you draw in your code goes on top of things drawn before it. In WebGL mode, although things are a little more complicated with 3D elements, you can still use the painter’s algorithm! When you draw two things at the same depth, the latest one you draw goes on top.
So, after we’ve drawn the background image, we can draw a semitransparent black rectangle on top of it to darken it. We remove the stroke with noStroke() and set the fill with fill() before drawing a rectangular plane() that fills the canvas. fill(0, 100) sets the fill color to semitransparent black. If you need to brighten the background, you might use semitransparent white with fill(255, 100). Tinker with the second parameter, the opacity between 0 and 255, to get the right amount of contrast for your text.
I’ve also updated the greeting text to be white with fill(255).
Note
In WebGL mode, if you want to treat 3D content like a flat 2D image, you can flatten it by calling clearDepth() after you draw it. Then, everything you draw next will go on top of it, regardless of its depth.
3D rotation
Let’s start to position the 3D text the way we’d see it in a postcard: a little lower in the canvas, and at an angle. To do this, we wrap the model(blockText) call in a push() and a pop(), and then we can start using rotateX() and rotateY() to tilt it.
Note
By default, rotateX() and other rotation functions take angles in radians, so passing in PI as an angle will flip something backwards. Often, you’ll use PI * 0.1 or some other fraction to get a smaller rotation.
At this point, the text starts clipping through the background image. We can replace the orbitControl() line with clearDepth(), which tells p5 to flatten everything drawn before it into a flat background that will go behind anything you draw next.
Lighting
For the block text, we want to show a photo through the letters, but have the sides be darker to keep the letter forms visible.
To start with, let’s remove the stroke on it with noStroke(). Then, we’ll turn on 3D lighting by using two light functions:
ambientLight()controls how bright a model is when no direct light hits it. By setting it to 0, anything facing away from the light will be black.directionalLight()casts light with a given color in a direction specified byx,y, andzcoordinates. Here, we’re casing two: one directly into the canvas, and one slightly left.
Texture with a custom material
Now, let’s make an image show through the block text! First, we need to load another image, similar to what we did before for the background.
Generally, when you want to use an image as a texture on some 3D content, you can use the texture() function. It doesn’t seem to work for 3D text, though, even though it works for other 3D content such as a sphere(). So what’s going on?
3D content can optionally come with texture coordinates that specify, for each vertex in 3D space on the model, what 2D coordinate on the texture should be pinned to that vertex. Built-in p5 shapes like sphere() and box() come with some, but textToModel does not, so we end up with the top left pixel getting stretched over the whole model.
But that’s ok! To get a texture to show through the text, we can make our own custom shader material to specify the texture coordinates.
When you draw shapes and models in WebGL mode, they get drawn with a shader to control their material. A shader is responsible for positioning all the points on the shape, and for coloring the faces of the shape. There are some built-in ones you can use — by default, it’s using a material shader, but you can try calling normalMaterial() before a call to model() or another 3D shape function to see another one that picks colors based on the orientation of the surface (its “normal”) of a model.
So, to map the image onto our 3D text, we’ll create a custom shader. We’ll declare a variable for it at the top and then create it in setup(). All we need to do is modify the default material but tell it how to create texture coordinates.
To do that, we’ll use baseMaterialShader().modify(...). This lets us tap into the default shader and choose what parts to modify. We just want to project the image onto the text as we see it, so we’ll modify the inputs to the shader in world space, which takes transforms into account, by defining the getWorldInputs hook.
Try this!
Try changing getWorldInputs to getObjectInputs later to see what the texture mapping looks like without the rotation applied!
Each hook takes in an inputs object for us to modify and return. Texture coordinates need to be in a [0, 1] range. The position of each vertex will be between [-width/2, width/2] in the x axis and [-height/2, height/2] in the y axis. So to map that to [0, 1], we can divide by the width and height and add 0.5.
We can use our material at the bottom by setting shader(textureMaterial). This will use our custom texture mapping, so we can then supply the texture to use by adding texture(fgImg).
Here’s how it looks in context:
Adding paper texture to the canvas
To give the whole composition an aged look, let’s apply a paper texture to it. Like our other images, we can create a variable for it at the top, and then import it in setup(). I’ve grabbed another image from Wikimedia Commons.
To apply it, at the end of draw(), we’ll first use clearDepth() to flatten the 3D content so we can do 2D techniques again. Between a push() and pop(), we’ll set the blendMode() to MULTIPLY to multiply the image’s colors with the content below. We’ll then draw the paper image the same way we drew the background image.
Try this!
Is the MULTIPLY blend mode darkening your image too much? Try changing the blend mode to ADD instead. Try out the other available blend modes for other interesting effects!
If your paper texture image is darkening the resulting image too much, we can draw it semi-transparent. Before calling image(), we can use tint(255 255, 255, 100) (or equivalently, tint(255, 100) for short) to tint it semitransparent. A tint darkens the color channels of your image: tint(255, 0, 0) leaves the red channel as-is and sets the others to 0 to make your image look red. To just reduce transparency, you can leave all channels at 255 except for the opacity channel, which we can reduce.
Living on the web: screen reader accessibility
We’ve got a nice looking postcard already! But since this isn’t going to be a physical postcard—we’re going to put it on a website—we want viewers who use screen readers to be able to tell what’s on the canvas.
To do so, we can use describe() in setup, and write a short, descriptive string about what we’ve drawn. Check out our describe tutorial for more info!
describe(`An old postcard that says, "Greetings from ${greeting}"`);
Adding animation
Since this is a digital postcard, we can make it animated!
When designing motion, entrance/exit animations happen as something is introduced into the canvas or leaves the canvas. While it’s visible, you might also want to add a continuous animation to keep it looking alive, often layered on top of your entrance/exit to avoid unnaturally rigid transitions between states. You might also consider having staggering the animation of each item so that they overlap but with an offset, giving it a looser feel.
Animation in p5 is based on either the current time in milliseconds, accessed via millis(), or the current frame number, accessed via frameCount. By default, p5 tries to run at 60 frames per second (although you can change that with something like frameRate(30) in setup.) In all cases, we’ll be mapping the time or frame number to a value that we want to animate.
Continuous animation
A quick way to animate a 3D model all at once is in its material shader, where we can update all the vertex positions at once on the GPU. First, we need to pass the time into the shader. A uniform links a JavaScript variable to a value we can use in a shader, so we can create a uniformFloat that returns the current time. Using that, we can set a new value of inputs.position that adds a sine wave based on the time and the position x value.
    textureMaterial = baseMaterialShader().modify(() => {
  // Pass the current time into the shader
  const t = uniformFloat(() => millis());
  getWorldInputs((inputs) => {
    let size = [600, 400];
    inputs.texCoord = inputs.position.xy/size + 0.5;
    // Update vertex positions over time
    inputs.position = [
      inputs.position.x,
      inputs.position.y + 20 * sin(t * 0.001 + inputs.position.x * 0.01),
      inputs.position.z
    ]
    return inputs;
  });
});
Here’s how that looks in context:
Entrance animation
We’ve seen how you can use sin() to make something continuously animate. But what if we just want to animate its entrance? Let’s make our block text pop in.
A key concept here is animation progress, a value between 0 and 1. We need to turn the current time into a progress value. In p5, we can use map(value, beforeA, beforeB, afterA, afterB, true) to transform the current time from the 0-1000ms range to a 0-1 range. The true at the end of map() tells it to clamp it to that range, so it stays at 1 as we go past 1000ms. Here’s how we can use that to animate a circle entering the canvas:
We could use that progress directly, but this produces linear motion which can look rather mechanical. We can run the linear progress through an easing function to get different styles of motion. An easing function takes in 0-1 linear progress and returns nonlinear progress. You can copy-and-paste functions from this sketch to try some out. Here, I’ve copied easeOutElastic():
We can use that same easeOutElastic to animate a scale() that we apply before drawing the text model. That gives us this:
Staggered animation per letter
Right now, the whole text animates at once. If we want the text to feel less like a single object and more like the letters are connected with some give between them, we can animate each letter individually with staggered entrances. It will look like each letter has some inertia, and each one pulls the next along.
The first step is to work one letter at a time. We create a new letters variable where we split the greeting into an array of letters by calling .split(''). Then, we make blockText be an array of models instead of a single model by mapping each letter to a model.
    let letters = greeting.split('');

async function setup() {
  // ...

  blockText = letters.map(
    (letter) => blockFont.textToModel(
      letter, 0, 0, {
        extrude: 100,
        sampleFactor: 0.25,
      }
    )
  );

  // ...
}
We have to draw and position each letter. We loop over each letter with forEach and position each one individually. We set the text size and font, and then use fontWidth to figure out how to move each letter. Starting from the left of the line, for each letter, we move halfway over to be in its center, draw model i, then move over the other half.
Instead of using the same animation progress for each letter, we add a time offset for each one.
    function draw() {
  // ...

  // Start from the left of the line
  translate(-fontWidth(greeting)/2, 0);
  letters.forEach((letter, i) => {
    // Move to the center of the letter
    translate(fontWidth(letter) / 2, 0);

    // Calculate progress per letter
    let progress = map(millis(), i * 50, i * 50 + 2000, 0, 1, true);
    progress = easeOutElastic(progress);
    push();
    scale(progress);
    model(blockText[i]);
    pop();

    // Move to the left of the next letter
    translate(fontWidth(letter) / 2, 0);
  });
  // ...
}
Try this!
Try experimenting with different offsets to see what kind of effect you get! I’ve used 50ms here.
High-res exports
We have a small canvas here, what would you do if you wanted to get a high-res image saved?
Well, first, I’ll add setAttributes({ antialias: true }) after the createCanvas line to make sure our edges are nice and smooth.
Then, we can use pixelDensity() to make the sketch draw at higher resolution than what the screen needs. If the default size is 600x400, a pixel density of 2 will render 1200x800 pixels, even though the canvas looks the same size onscreen.
Often, to save an image, you’ll wait for a key to be pressed (e.g. the s key), set the pixel density very high, redraw, save the canvas, then set it back. We’ll use this technique by defining the keyPressed function, which p5.js will call whenever a key is pressed, and checking the value of key, a global variable set to the recent key. Here’s a snippet you can add to a sketch to add that functionality:
    async function keyPressed() {
  if (key === 's') {
    const prevDensity = pixelDensity();
    pixelDensity(3); // Make the canvas high res
    await redraw(); // Redraw the canvas at high res
    save('sketch.png');
    pixelDensity(prevDensity); // Put the density back
  }
}
Mouse interactivity
Let’s make it so that when you mouse over each letter, the animation for that letter restarts! To do this, rather than having a fixed start time for each letter, we’ll make a variable start time that we can update dynamically. We’ll make a variable at the top with the start time for each letter, and then refer to those times in draw() when calculating the progress.
let letterStartTimes = letters.map((letter, i) => i * 50);
Then, we can update the start times when the mouse is over each letter. To detect when the mouse is over a letter, we can figure out where on the screen each letter’s center ends up after transforms are applied using worldToScreen(). We can then compare worldToSCreen return values to the mouse position, which is as mouseX and mouseY. If the distance between those coordinate is close enough, then we can say the mouse is over the letter.
    letters.forEach((letter, i) => {
  translate(fontWidth(letter) / 2, 0);

  ///////////////////////////////////////////
  // Convert the translated coordinate to
  // screen space and update the letter start
  // time if it's close to the mouse
  ///////////////////////////////////////////
  const screenCoord = worldToScreen(0, 0);
  if (dist(screenCoord.x, screenCoord.y, mouseX, mouseY) < 40) {
    letterStartTimes[i] = millis();
  }

  ///////////////////////////////////////////
  // Base progress off of the stored letter
  // start time
  ///////////////////////////////////////////
  let progress = map(millis(),
          letterStartTimes[i],
          letterStartTimes[i] + 2000,
          0, 1, true);
  progress = easeOutElastic(progress);
  push();
  scale(progress);
  model(blockText[i]);
  pop();
  translate(fontWidth(letter) / 2, 0);
});
Try wiggling your mouse over the letters!
Add your postcard to the collection!
If you’ve created your own 600x400 postcard on the p5.js web editor, feel free to add it to our postcard wall! On that page, there are a number of other postcards people have made, and instructions at the bottom for how to add yours to the collection. We’d love to see what you make!